
Muy buenas de nuevo, hoy os traigo la segunda parte del proceso de pintura de Groot. Una escultura tan grande y tan divertida de pintar que pese al tamaño se me ha hecho rápido el pintado.
Hello everybody !! Today I bring you the second part of the process of painting de Groot. A sculpture is so large and fun painting. I have been quick the painted.

Siguiendo un esquema distinto al normal, he querido reflejar a Groot más joven. Lleno de vida y para ello como expliqué en el proceso anterior utilicé muchos colores que reflejen eso.
Following a different outline normal, i wanted to reflect Groot younger. Full of life and to do this as I explained in the previous process I used many colors that reflect that.

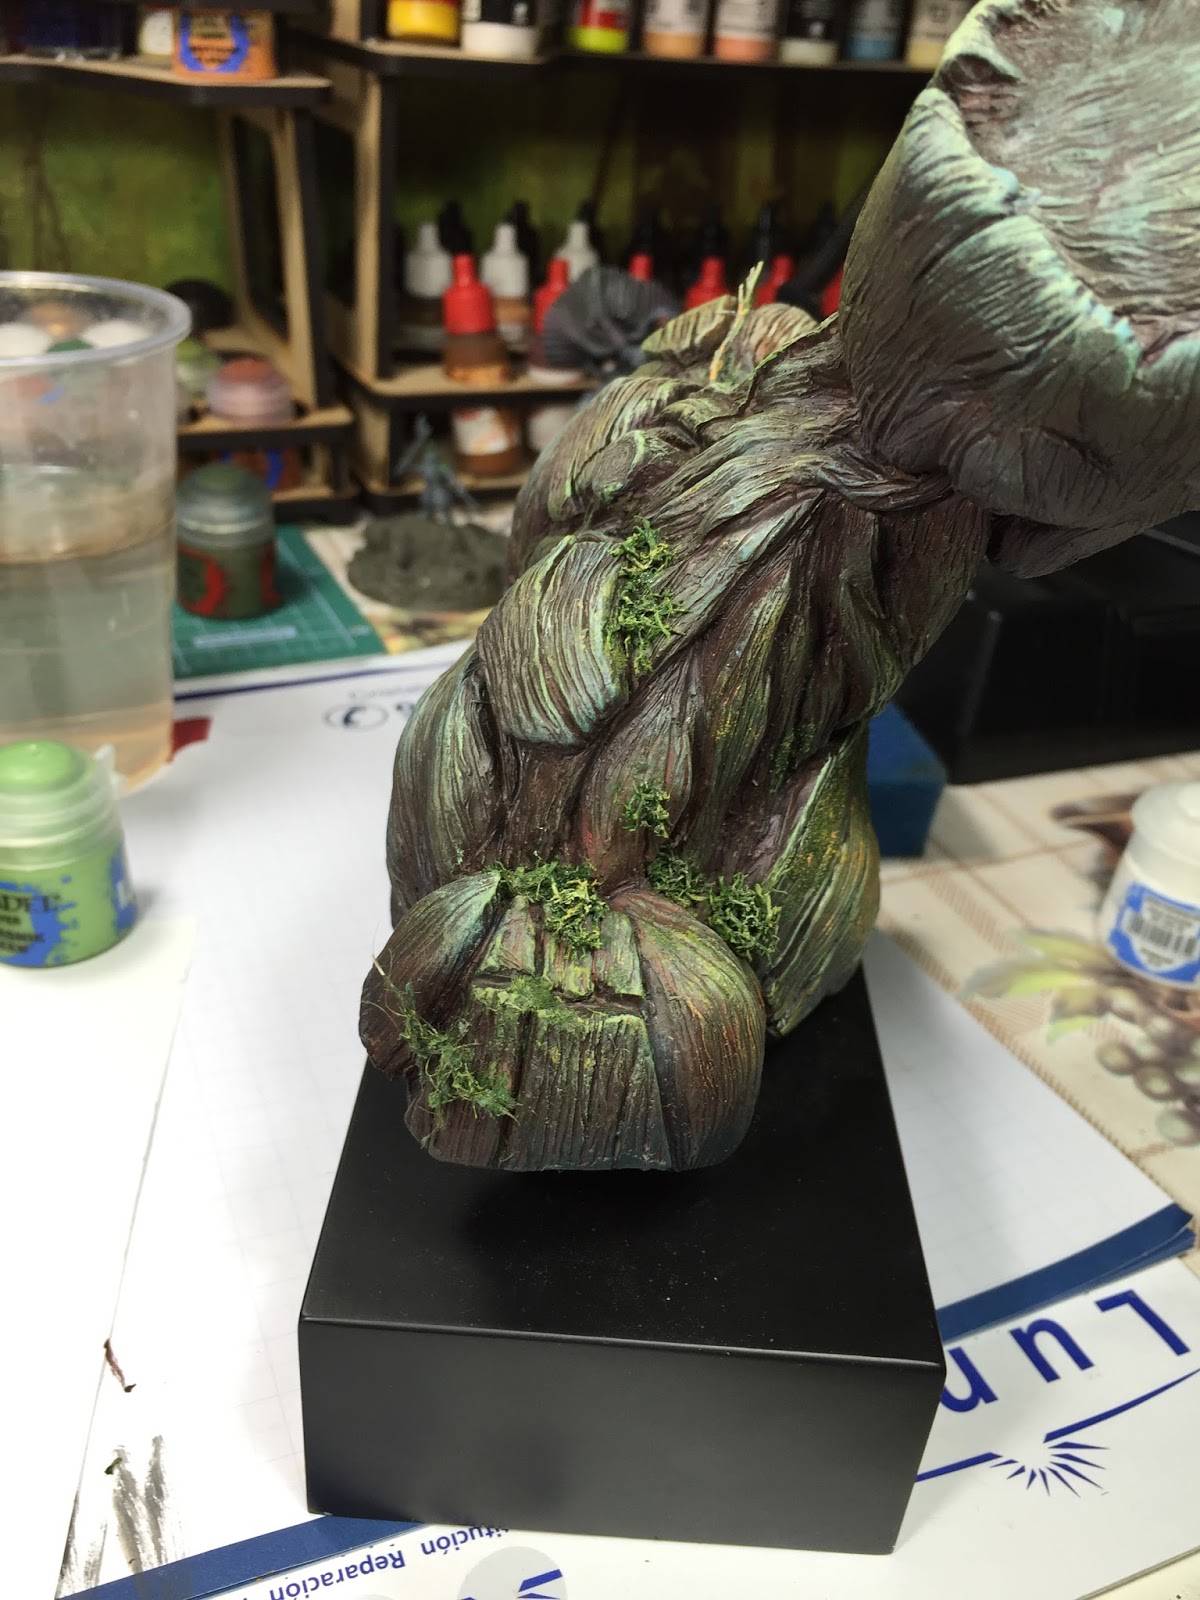
Lo que me quedaba por terminar eran meter algunos tonos más en la cara y perfilar tanto rotos como aristas del cuerpo de madera.
Finally I painted more tones on the face and outlined the edges of the body of the timber.

El uso de tintas y lavados de tonos marrones también me ha ayudado a oscurecer ciertas partes y darle más realismo.
The use of inks and washes of brown tones has also helped me to obscure certain parts and give more realism.


Por último pintar ciertas partes de la vegetación y ramas adicionales para que entren a formar parte del conjunto de la figura.
Last I painted parts of the vegetation and additional branches to become part of the overall figure.


Bueno y os dejo fotos finales de la figura.
Here final photos of the figure.


Un placer y hasta la próxima !!!
Bye bye
Elinhir.
Lo dije y lo mantengo ! Un gran busto busto Jonathan y lleno de detalles ! Mil gracias por el paso a paso !
ResponderEliminarGracias Toño, la verdad es que me he divertido mucho pintándolo.
ResponderEliminar